Alright, so you've been dabbling with Flipaclip on your phone or tablet, right? It's a fantastic little app for bringing your animation ideas to life, whether you're sketching out quick flipbooks or working on something a bit more ambitious. But let's be real, sometimes that tiny screen just doesn't cut it. I know I've often wished for more screen real estate, the precision of a mouse or graphics tablet, and the general comfort of working on a desktop. That's why the question of getting Flipaclip on PC comes up so often, and I'm here to tell you how you can make it happen.
Why Even Bother with Flipaclip on PC?
Before we jump into the 'how,' let's touch on the 'why.' For me, and I bet for many of you, the appeal is clear. Imagine having your animation spread across a 24-inch monitor instead of squinting at a 6-inch phone. That's a game-changer for detail work. Plus, I've found that using a mouse or, even better, a graphics tablet connected to my PC gives me way more control over my lines and shapes. My hand just feels more stable on a desk than hovering over a phone. It also opens up the possibility of integrating Flipaclip into a broader desktop workflow, maybe with other editing software or simply having reference images open on a second monitor. It's about enhancing your creative process, making it less restrictive and more comfortable.
You see, Flipaclip itself is designed primarily for mobile use, and it does that job incredibly well. But when you want to take your projects up a notch, or just prefer the ergonomics of a desktop setup, you start looking for alternatives. And that's where the magic of emulation comes in.
Emulation: Your Bridge to Mobile Apps on Desktop
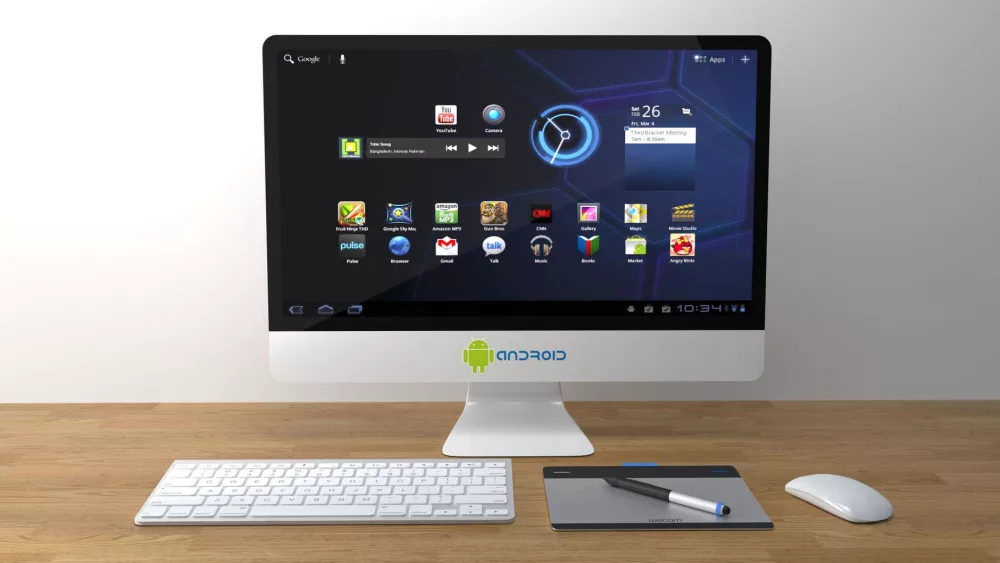
Since there isn't an official, native Flipaclip application for Windows or macOS, our best bet is to use an Android emulator. Now, don't let the term 'emulator' scare you off; it's just software that mimics an Android operating system on your computer. It creates a virtual Android device within your PC, letting you download and run almost any Android app just as you would on a phone or tablet. It's a pretty neat trick, actually!
There are several robust and reliable Android emulators out there, each with its own quirks and advantages. I've personally experimented with a few, and I can tell you that they generally do a good job. My top recommendations, based on performance and user-friendliness, typically include:
- BlueStacks: This one is probably the most popular, and for good reason. It's well-established, quite stable, and has a user-friendly interface. Setting it up is usually a breeze.
- NoxPlayer: Another solid contender that often feels a bit lighter on system resources than BlueStacks, which can be a plus if your PC isn't a powerhouse. It offers a smooth experience for many apps.
- LDPlayer: I've found LDPlayer to be particularly good for gaming, but it works perfectly fine for productivity apps like Flipaclip too. It focuses on performance, which is always welcome.
Choosing one really boils down to personal preference and how it runs on your specific machine. If you've got a decent PC, any of these should work wonderfully.
Step-by-Step Guide: Installing Flipaclip via an Emulator
Let's get down to business. I'll walk you through the general process, which is pretty similar across most emulators. For this example, let's assume you're going with BlueStacks, as it's a popular choice.
- Download and Install BlueStacks: First things first, head over to the official BlueStacks website. You'll find a prominent 'Download BlueStacks' button. Click that, download the installer, and then run it. Follow the on-screen instructions. It's a fairly standard software installation process, so you shouldn't run into too many surprises.
- Launch BlueStacks: Once installed, fire it up. The first launch might take a little longer as it sets up the virtual Android environment.
- Sign In to Your Google Account: Just like a new Android phone, BlueStacks will prompt you to sign in with your Google account. This is essential because it gives you access to the Google Play Store. If you don't have a Google account, you'll need to create one.
- Navigate to the Google Play Store: After signing in, you'll see the familiar Android home screen within BlueStacks. Look for the 'Play Store' icon and open it up.
- Search for Flipaclip: In the Play Store's search bar, type 'Flipaclip' and hit enter.
- Install Flipaclip: You'll see Flipaclip in the search results. Click on it, then click the 'Install' button. It'll download and install just as it would on your mobile device.
- Launch Flipaclip: Once the installation is complete, you can open Flipaclip directly from the Play Store, or you can go back to the BlueStacks home screen, where you'll find its icon waiting for you.
And there you have it! You're now running Flipaclip on your PC. The experience will be very close to using it on your phone, but with the added benefits of your desktop setup.
My Experience and Key Advantages
When I first tried this, I was genuinely impressed. The biggest upside, for me, is definitely the larger canvas. It makes a huge difference when you're trying to get those minute details just right. I can zoom in without feeling like I'm about to poke my eye out, and the overall perspective on my animation frames is just so much better. I've also found that connecting my Wacom tablet makes drawing feel much more natural and precise than using my finger or a cheap phone stylus. It really elevates the drawing experience.
Another benefit is the PC's processing power. While Flipaclip itself isn't super demanding, running it on an emulator on a powerful desktop or laptop often means smoother performance, especially when dealing with projects that have many layers or frames. My computer handles it without breaking a sweat, which can't always be said for my older phone.
- Better Precision: Thanks to mouse and tablet support.
- Enhanced Workflow: Easier to multitask and use reference materials.
- Visual Clarity: A large monitor makes everything clearer.
- Improved Ergonomics: Work comfortably at your desk.
Things to Keep in Mind (The Downsides)
Now, it's not all sunshine and rainbows, right? There are a couple of considerations I think you should be aware of. First, emulators can be resource-intensive. They're essentially running an entire operating system within your existing one, so they'll use up RAM and CPU cycles. If your PC is older or has limited resources, you might experience some slowdowns or lag. It's a good idea to close other demanding applications when you're animating.
Second, remember this isn't an *official* PC version. You're using a workaround. This means you might occasionally encounter minor glitches or compatibility issues, although these are pretty rare with popular emulators and well-designed apps like Flipaclip. You also won't get the native PC features that a dedicated desktop application would offer, like direct file system integration outside of the emulator's virtual storage. But for creating animations within Flipaclip, it's generally a smooth ride.
Considering Alternatives?
If, for some reason, the emulator route just isn't cutting it for you, or if you're looking to explore dedicated desktop animation software, there are definitely other options. Programs like Krita and OpenToonz are fantastic free alternatives that offer a much broader set of features for desktop animation, though they come with a steeper learning curve. Adobe Animate is another powerhouse, but it's a professional, paid tool. These are great if you're ready to step up to a different league, but for a simple, accessible animation tool that feels familiar, Flipaclip via an emulator is hard to beat.
My Takeaway
So, can you use Flipaclip on your PC? Absolutely! While it requires a small setup with an Android emulator, the benefits of a larger screen, better input devices, and a more comfortable working environment are well worth the effort. It truly unlocks a new level of precision and enjoyment for your animation projects. I've found it to be an excellent way to continue using an app I love, but with the added power and comfort of my desktop setup. Give it a shot; I bet you'll find your animation workflow gets a nice little boost!